
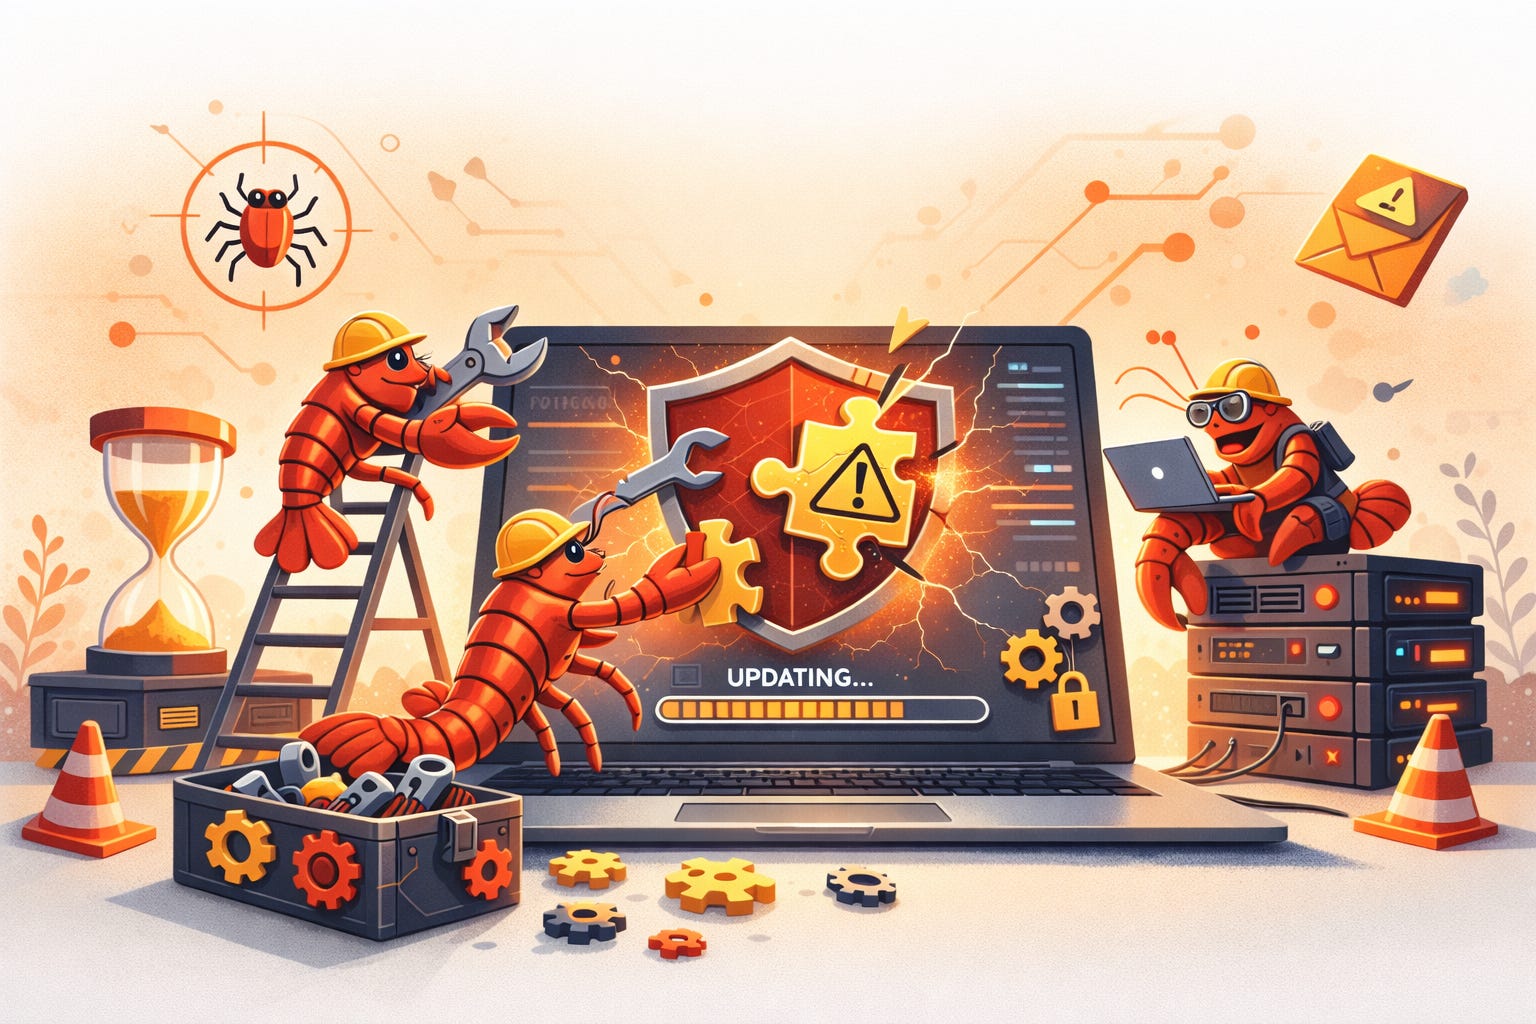
OpenClaw Guide: Update Without Breaking Everything
Safe updates, quick rollbacks, zero heroics

Cybersecurity isn’t all about stopping hackers. It’s also about operational resilience. In other words, doing our best to make sure things are available when you need them (and patching is one of the most boring, but most important, parts of that).
Here’s a breakdown of this update guide:
Background: Why Updates Matter & Assumptions (don’t skip!)
VPS OS Patching
Updating OpenClaw
Frequency Guidance and Practical Tips
My Personal Approach
Final Thoughts
1. Background
1.1 Why Staying Updated Matters
Before diving in, let’s briefly hit on why patching matters. Most will agree it’s not the most convenient thing to keep tabs on, so it helps to understand why we do.
By “patching”, I mean updating anything in your environment that has new versions available. These concepts generally apply to any technology in your life.
First, let’s consider the following: why are updates released? Usually for three reasons:
New features
Bug fixes
Security fixes!
This means we know what versions of stuff are missing specific security fixes.
Why does that matter? Because the proverbial “bad guys” often use scanners to learn what versions of things you’re running, then they look for known exploits (“hacks”) that those versions are vulnerable to.
Here’s a mental model:
Pretend your home is the thing we’re trying to secure.
Consider your front door’s lock as a security layer to prevent unauthorized access into your home.
Now say that lock gets broken.
You can think of the maintenance person fixing it as applying an update... they’re “patching” this vulnerability created by your broken lock.
So… never updating your stuff, is like never calling the maintenance person to fix your broken lock.
And burglars don’t pick your house… they scan the whole street and let the easiest door pick them.
Key takeaway: Regularly patching your environment is a bare-minimum requirement for maintaining a decent security posture.
Now that you understand why patching is important, let’s get into strategies.
1.2 Assumptions
Some important items to keep in mind while reading.
1) My steps are scoped to the following setup:
VPS running Ubuntu 24.x LTS
OpenClaw installed from source (git-clone), gateway running via supervised service (systemd), tailoring (config, credentials, workspace, etc.) lives under ~/.openclaw (default location)
If your setup differs, you can still leverage this model (baseline → backup → update → restart → verify → rollback), but adapt the exact commands
2) Patches can and will break things. Always prepare backups and a rollback plan in advance. Verify changes in your own environment.
3) The strategies discussed aren’t meant to be enterprise-grade. In production you’d typically stage updates and control reboots. But for an inexperienced person running a personal VPS, automated updates are a huge improvement over never patching, and most will fail in the patching department if it becomes a second job. Focus on eliminating friction where justifiable.
2. VPS OS Patching
There’s no universal “correct” way to patch a server. What matters is:
Having a rollback plan
Being predictable
Not overlapping backups, updates, and reboots
I’ll give you two sound approaches to mitigate the “I updated and everything broke” moment. As you can probably guess, never updating is not going to be one of them.
Choose the approach that matches how hands-on you’re comfortable being.
2.1 Option A - Manual Patching (Maximum Control)
This approach is best for:
People who want zero surprises
Need for planned/supervised downtime
Anyone less comfortable troubleshooting a VPS
The flow here is pretty straightforward: Backup → Update → Reboot
2.1.1 Step-By-Step Process
1) Take a snapshot at your cloud provider: Power-down VPS (gracefully, of course) → DigitalOcean → Backups & Snapshots → Snapshots → Take Snapshot → Power-on VPS.
2) Fetch and apply available updates.
sudo apt update && sudo apt upgrade -y

# (Optional) add " && sudo apt autoremove -y " to clean up un-used dependencies as well
3) Reboot VPS to apply changes.
sudo reboot4) Sanity Checks (optional but recommended).
# Confirm clean reboot
uptime
# Confirm no obvious pending updates remain
apt list --upgradable

# Confirm key OS-level services are running (common ones, including OpenClaw, below)
systemctl is-active ssh
systemctl is-active fail2ban
systemctl is-active tailscaled
systemctl is-active ufw
systemctl --user is-active openclaw-gateway.service

# Confirm basic app-level OpenClaw functionality
openclaw status --all
openclaw channels status --probe
openclaw health
That’s it. Simple, intentional, and controlled.
The catch is that you need the discipline to patch on a schedule, which can be easy to forget about if you’re a busy person. If this sounds like you, opt for Option B (Automated Patching).
The patching window you decide on will also a good time to upgrade your OpenClaw version, which we discuss after this section.
2.2 Option B - Automated Patching (Minimal Maintenance)
This approach is best for anyone who wants a mostly hands-off system. The catch is that patches can still break things, and surprise reboots can leave stuff in a weird state. But hey, this still beats never updating!
Here’s the flow:
Schedule weekly automated backup window at your cloud provider
Schedule unattended upgrades (~1 hour after backup window closes)
Enable automatic reboot (~1 hour after upgrades start)
The exact minute doesn’t matter here, the order and avoiding overlap does. Backup > Update > Reboot.
2.2.1 Step-By-Step Setup
1) Schedule weekly automated backups (via cloud provider). In DigitalOcean: Backups & Snapshots → Backups → Setup Automated Backups. Pick a weekly window.
Note: The steps below assume DigitalOcean backups are initiated Weekly on Saturday starting with the 4:00 - 8:00 (UTC) window.
2) Install and enable unattended upgrades.
sudo apt update
sudo apt install -y unattended-upgrades
sudo dpkg-reconfigure -plow unattended-upgrades
# When prompted, choose “yes”
Optional: Restrict to security-only in /etc/apt/apt.conf.d/50unattended-upgrades
sudo nano /etc/apt/apt.conf.d/50unattended-upgrades// Comment out (//) this line: "${distro_id}:${distro_codename}";
Unattended-Upgrade::Allowed-Origins {
// "${distro_id}:${distro_codename}";
"${distro_id}:${distro_codename}-security";
};If you do this, you’ll still need to manually run full updates on a schedule (i.e., do Option A above ~monthly). Note that full upgrades are riskier, but it’s a reasonable default (like in this guide) if you’re unlikely to keep up with manual updates. If minimizing automated risk is important, restrict to security-only.
3) Set a reboot window. Example below reboots at 10:00 UTC only when needed, and avoids rebooting while you’re actively SSH’d in.
sudo tee /etc/apt/apt.conf.d/52unattended-reboot >/dev/null <<'EOF'
Unattended-Upgrade::Automatic-Reboot "true";
Unattended-Upgrade::Automatic-Reboot-WithUsers "false";
Unattended-Upgrade::Automatic-Reboot-Time "10:00";
EOF
4) Set the weekly upgrade schedule. Example below runs weekly on Saturday at 09:00 UTC (backup window closes at 8:00 UTC).
sudo systemctl edit apt-daily-upgrade.timer

# Paste:
[Timer]
OnCalendar=
OnCalendar=Sat *-*-* 09:00
RandomizedDelaySec=0
Persistent=true

# Then:
sudo systemctl daemon-reload
sudo systemctl restart apt-daily-upgrade.timer
5) Sanity checks (optional but recommended).
# Confirm timezone is UTC
timedatectl | grep "Time zone"
# Confirm next scheduled run
systemctl list-timers apt-daily-upgrade.timer
# Confirm reboot settings applied
grep -E "Automatic-Reboot" /etc/apt/apt.conf.d/*
# Test a dry run
sudo unattended-upgrades --dry-run --debug
If you want an extra confidence check, you can run an ad-hoc upgrade once and confirm a) you don’t see any remaining security updates and b) /var/run/reboot-required is not found afterwards (unless you expect a kernel update):
sudo apt update
sudo unattended-upgrades --debug
sudo reboot

uptime
apt list --upgradable
ls /var/run/reboot-required
3. Updating OpenClaw
Now, let’s talk about patching OpenClaw itself. No automated approach here, you’ll want to be intentional for now given how fast the OpenClaw team is shipping updates.
We’re aligned with the official update docs (at the time of writing), but I intentionally prefer the installer path over openclaw update for beginners because it’s the same command you use on day 1 and day 100, and it refuses to pull if your repo isn’t clean.
Some ground rules:
Backup, then update. Don’t skip the rollback plan.
Restart from your SSH terminal via systemd. Don’t restart the gateway from inside the gateway UI.
Never expose the Control UI to the public internet or disable authentication “just to test.” Use loopback + an SSH tunnel.
3.1 Step-By-Step Process
0) (Optional but recommended)
Take a VPS snapshot. If all else fails, think of this as the checkpoint you’d respawn at in a video game. (This also makes it a good idea to take one after updating.)
Do baseline testing. Run the final step’s checks beforehand and note the output, so you don’t need to wonder whether any weird or unexpected results later were related to your changes.
1) Backup OpenClaw state. This captures your config, credentials, device pairings, cron jobs, etc.
ts=$(date -u +%Y%m%d-%H%M%S)
tar -czf "$HOME/openclaw-state-$ts.tgz" -C "$HOME" .openclaw
chmod 600 "$HOME/openclaw-state-$ts.tgz"
ls -lh "$HOME/openclaw-state-$ts.tgz"
Note: This assumes OpenClaw state lives under ~/.openclaw. Repo lives wherever you cloned it.
Backup retention tip: Remember to periodically delete old backups so they don’t pile up and choke disk space. Otherwise, you may start experiencing degraded performance (slowness).
2) Update using the official installer (git install, onboarding skipped):
curl -fsSL https://openclaw.ai/install.sh | bash -s -- --install-method git --no-onboardNote: This updates your git checkout; if you prefer release-only updates over workflow consistency, use the stable channel updater (tagged releases) or pin to tags (if comfortable).
Tip: If it refuses because your repo isn’t clean, don’t force it. Either undo local edits or move local-only files out of the repo. (This is why I keep my notes and local scripts outside the vendor checkout.)
3) Restart the gateway service (systemd user). The default service name on fresh installs is usually openclaw-gateway.service:
systemctl --user restart openclaw-gateway.service
systemctl --user status openclaw-gateway.service --no-pager
If your service name differs, list services and restart the one you see:
systemctl --user list-units --type=service | grep -i openclaw4) Verify health + security + channels. These checks catch the most common “it updated but something important broke” issues.
openclaw status --all
openclaw health
openclaw channels status --probe
openclaw security audit --deep
3.2 Reusable Updater Script
If you want a single “do the safe thing” updater: I published a small, vibed bash script you can download and run whenever you want to upgrade OpenClaw.
What it does (in order):
Runs a quick preflight (sanity checks)
Backs up
~/.openclaw(your config, credentials, device pairings, cron jobs, etc.)Runs the official OpenClaw installer update (git install, onboarding skipped)
Restarts the gateway via your systemd user service
Runs basic verification checks
Prints rollback steps if something breaks
Script (pinned version) // (Last updated: 2026-02-14) // SHA256: e1ef68ddf5a91a68565e4d0e296eed72ccde1507930586d7e15c0c4b5acfaa61
Note that common defaults are assumed; review and tailor as needed. As always, I strongly recommend taking a snapshot and performing baseline tests in advance.
3.3 Rollback (when something breaks)
For beginners, rollback should be simple. If you took a VPS snapshot, revert to it. If not, restore your ~/.openclaw backup as the same OS user that runs OpenClaw.
rm -rf ~/.openclaw
tar -xzf ~/openclaw-state-<timestamp>.tgz -C ~

systemctl --user restart openclaw-gateway.service
openclaw status --all
openclaw health
openclaw channels status --probe
openclaw security audit --deep
Note: If your server hosts other apps or data that changes constantly, a full snapshot rollback may undo unrelated changes—so elect for the tarball restore when you want a narrower rollback.
3.4 Automated Updates (Not Recommended)
Update: A native auto-updater feature was released in 2026.02.22. I advise against enabling it — ideally, when stuff breaks, the timing is at your discretion. But, if you’re comfortable with the risks, I added this section on how to enable it.
In this example, the updater tracks OpenClaw’s stable channel (don’t use dev/beta) which applies tagged releases after a configurable delay (see Frequency Guidance section below for why this is a good idea).
If you have automated git backups and/or snapshots setup, I suggest setting the delay long enough that you’ll likely have a recent backup available when the update lands. Otherwise, this example uses 72 hours (which I suggest at a minimum).
3.4.1 Step-By-Step Setup
0) (Optional but recommended): Run openclaw update --dry-run to preview update actions (so you can somewhat anticipate whether everything will break after enabling).
1) Enable core auto-updater in ~/.openclaw/openclaw.json (or via config commands):
{
  "update": {
    "channel": "stable",
    "auto": {
      "enabled": true,
      "stableDelayHours": 72
    }
  }
}
2) Restart gateway + run quick health check:
openclaw doctor
systemctl --user restart openclaw-gateway.service
openclaw health
4. Frequency Guidance and Practical Tips
The main consideration for choosing an update frequency is simple: the longer you wait between updates, the bigger the version gap becomes.
Larger version gaps = more change at once = higher chance of something breaking.
As a rule of thumb: weekly is ideal, monthly is acceptable, and “whenever I remember” is not (unless you like dealing with big scary upgrades for fun).
One caveat with OpenClaw specifically: It’s moving very fast right now. At the time of writing, there’s a new release every day with meaningful changes. In such cases, it’s often smart to be a little late to the party—for example, staying a few days behind the newest release unless you need a specific fix. That way, if a new bug (or zero day) ships, there’s time for a) someone else to hit it first and b) a follow-up fix to land.
Emphasis on a few days here, the point is we’re striking a balance. We prefer smaller update gaps (weekly) so our updates feel boring and there’s no need to worry about pinning (stepping version-by-version). When you wait months, you end up with a complicated nightmare.
If you do run into a bad release, don’t panic:
If you’re stuck, start with the suggested debugging paths in the official documentation.
If still unsure, the safest move is usually to roll back (to your snapshot or local/git backup), then try again later when you have time.
If it’s easy to do so, consider trying the next release (sometimes a fix is already shipped).
4.1 Using your bot as a safety net
If you don’t have the expertise to confidently prepare a rollback plan, your OpenClaw bot is totally capable of helping you do so (trust but verify, of course). Before patching, I’ll often ask mine (Ziggy) things like:
“Hey it’s snapshot time, anything to wrap up before we power off?”
“I’m applying <xyz updates>, review the release notes then prepare a rollback plan and list any preflight checks we should run in advance as well as sanity checks we should run afterwards.”
“Review this documentation <link> and tell me which update path is safest for my setup. Ask questions if anything is ambiguous.”
I’m personally not an infrastructure expert, and you don’t need to be either. Just don’t do things recklessly—meaning prepare as if things can and will go wrong, do your due diligence, and consider best practices. How far you take that depends on the stakes of what you’re doing.
5. My Personal Approach
I use a hybrid approach. Automation is great, intentionality is better.
For OS patching: I use the automated approach for weekly security fixes (Option B) and run full upgrades manually once a month (Option A). I schedule riskier automations (like upgrades) on Saturdays in the middle of the night. Why I choose this window boils down to:
I should be asleep (right?) and I don’t anticipate impactful processes to be running during that time.
This gives me Sunday to troubleshoot any unforeseen issues. If I don’t have time to debug Sunday, I’ll simply just roll back to my last snapshot and plan to look into it later.
For OpenClaw patching: What I do specifically won’t apply to you. That said, the model absolutely does, and you now have a solid starting point to build on.
If seeking inspiration, here’s some stuff Ziggy and I set up to make updates smooth:
Runbook + SOP: a simple, written “do this every time” procedure so updates don’t depend on memory. We also codify soft guardrails here to make best practices automatic (e.g., sanitize logs, avoid temporary insecure shortcuts, etc.)
Safe updater script: one command that does: baseline > backup > update > restart > verify, and prints rollback steps as well as logs errors if anything fails. Also includes dry-run preview to see what would change.
Living baseline checklist: a short “what must still work” list (channels, Control UI access method, auth/pairing behavior, automations).
Smoke test (Pass/Fail): automated post-update checks so you don’t forget the important verification steps.
Triage capture: a quick report you can export before rolling back (service status + recent logs + probes) so debugging later is easier.
Isolating local stuff: we keep personal notes, helper scripts, and logs outside the vendor repo so git pull isn’t a chore every update cycle.
If you want a similar update protocol to mine—meaning tailored to your setup’s unique context—collaborate with your bot to make it happen. A practical pattern is to start by telling it your main concerns (“I don’t want to lose X”, “I don’t want to break Y”). When it proposes solutions you don’t understand, keep asking it to explain why until it makes sense and you feel reassured.
For me, the core concern was basically “I can’t tell what meaningfully changed, so I don’t know what an update might break or erase.” Ziggy helped by creating a mental model with a few “buckets of change” (vendor code, runtime state/config, external integrations, etc.), and then we designed mitigations for each bucket.
My main priority was: I don’t want to lose context. So we defined what “good” looks like and made it durable. Instead of relying on memory, we keep a living baseline checklist and a smoke test that audits the things I care about after every update. If something regresses, it’s obvious immediately, and we either roll back or fix it intentionally—no guesswork, no “why did we forget this?” debugging.
That’s the general approach. In summary:
Identify the risks you care most about
Map them to concrete mitigations
Keep refining until updates feel boring
6. Final Thoughts
The scope of these projects is usually just a personal VPS—it’s not the end of the world if your box is unavailable for a bit.
Now, that doesn’t mean you should act carelessly.
I’m just saying don’t feel intimidated if you’re new to this stuff. You’ll learn the most from fixing what you break and become savvy faster than you think.
Everyone started somewhere.
More from Rumteen at @RumteenHQ.